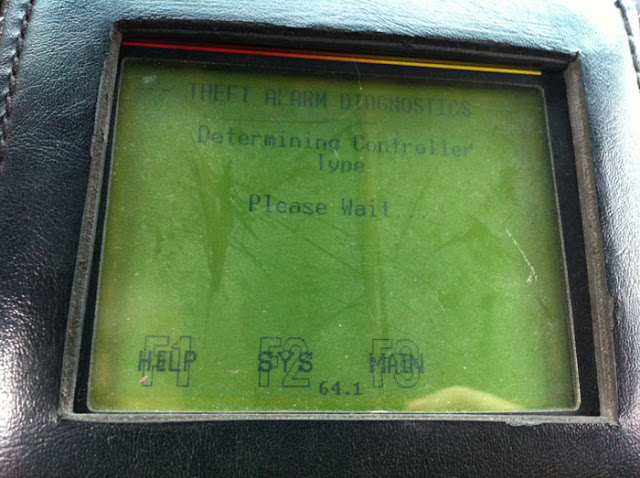
All you need to do is program old fob (RKE) to the replacement CTM using DRB-III after get a CTM replaced. This is confirmed using an official DRB-III emulator and WiTech VCI pod.
Programming the RKE (Remote Keyless Entry) transmitter access codes requires the use of a DRB III scan tool, so if you need to replace one or want a spare you’ll need to visit your local dealer to have this done.
programming methods A thru D. Only Methods A thru C are applicable to Jeep vehicles and only from 1999 to 2002. Methods A & B are Customer Programing Methods that can be found elsewhere on other websites. Method C is a Dealer Programming Method that requires the use of a DRB III scanning tool.
SUBJECT:
Remote Keyless Entry (RKE) Programming Procedures
Remote Keyless Entry (RKE) Programming Procedures
MODELS:
1999 – 2002 (AB) Ram Van/Wagon
1999 – 2002 (AN) Dakota
1999 – 2002 (BR/BE)Ram Pickup
1999 – 2002 (DN) Durango
2002 (DR) Ram Pickup
2001 – 2002 (JR) Sebring Sedan/Stratus Sedan/Sebring Convertible
2002 (KJ) Liberty
1999 – 2002 (LH) Concorde/Inytrepid/LHS/300M
1999 – 2000 (NS) Town & Country/Caravan/Voyager
1999 – 2002 (PL) Neon
1999 – 2002 (PR) Prowler
2001 – 2002 (PT) PT Cruiser
2001 – 2002 (RS) Town & Country/Caravan/Voyager
1999 – 2002 (WJ) Grand Cherokee
1999 – 2001 (XJ) Cherokee
NOTE: PLEASE READ INSTRUCTIONS FULLY BEFORE ATTEMPTING TO PROGRAM TRANSMITTERS.
Program Method A (Customer Program Method)
1. Press (LOCK) button 5 times at 2 second intervals to resynchronize transmitter. Attempt to function transmitter, if working as designed discontinue programming.
2. Turn ignition to run position. (Allow ignition chimes to stop).
3. Using any original (working) transmitter, press the [UNLOCK] button for 4 to 10 seconds.
4. Within the specified 4 to 10 seconds, continue pressing the [UNLOCK] button and press the [PANIC] button for 1 second and release both buttons (AN/DN release
either button first). A chime will sound to indicate that the transmitter programming mode has been entered (allow 3 seconds for chime to sound).
5. Press [LOCK] and [UNLOCK] buttons simultaneously for 1 second and release (a short chime will sound for AN/DN).
6. Press and release any button on the same transmitter and a chime will sound after successfully programming the transmitter (locks will cycle for AN/DN).
NOTE: (FOR DR 0NLY ) A CHIME WILL NOT SOUND ON STEP #6 FOR THE FIRST TRANSMITTER PROGRAMMED, BUT WILL SOUND UPON PROGRAMMING THE SECOND TRANSMITTER.
7. Repeat steps 5 through 6 to program additional transmitters.
8. Turn ignition to OFF position. Transmitter programming mode will discontinue after 60 seconds (30 seconds for AN/DN and RS). (All transmitter programming must be completed within time specified).
7. Repeat steps 5 through 6 to program additional transmitters.
8. Turn ignition to OFF position. Transmitter programming mode will discontinue after 60 seconds (30 seconds for AN/DN and RS). (All transmitter programming must be completed within time specified).
Program Method B (Customer Program Method)
1. Press [LOCK] button 5 times at 2 second intervals to resynchronize transmitter. Attempt to function transmitter, if working as designed discontinue programming.
2. Turn ignition to the run position (Allow ignition chimes to stop).
3. Using original transmitter, press and hold the [UNLOCK] button on the transmitter for between 4 and 10 seconds.
4. Continue to hold the [UNLOCK] button and press the [PANIC] button. A chime will sound to indicate that the transmitter programming mode has been entered (Allow 3 seconds for chime to sound).
5. Press a button on all transmitters to be programmed into the system including any previously programmed transmitters; a chime will sound when each transmitter has been programmed.
6. Turn the ignition to OFF position to exit the transmitter programming mode.
Program Method C (Dealer Program Method) *Can be used for any type transmitter.
1. Press [LOCK] button 5 times at 2 second intervals to resynchronize transmitter. Attempt to function transmitter, if working as designed discontinue programming.
2. Turn ignition to the run position (Allow ignition chimes to stop).
3. Plug DRB III to vehicle’s 16–way data link connector.
4. Follow Service Manual and DRB3 instructions to program transmitters.
Program Method D (For use with AB vehicles not equipped with VTSS only)
1. Locate the dark green program enable wire connected to pin #1 of the 16-way data link connector under the left side of the instrument panel.
2. Connect the program enable wire terminal to a good ground.
3. Insert the key into the ignition and turn the ignition switch to the ON position. The power locks will cycle (Lock and Unlock) indicating that program mode has been entered.
4. Using the transmitter to be programmed, press either [LOCK] or [UNLOCK]. The power locks will cycle indicating the transmitter has been programmed successfully.
5. Repeat step 4 to program additional transmitter.
6. Disconnect the program enable wire from ground to exit program mode.
7. Turn the ignition to the OFF position and remove the key.
NOTE: REFER TO DAIMLERCHRYSLER MDS2 SYSTEM OR PARTS DEPARTMENT TO OBTAIN THE CORRECT PART NUMBER AND REVISION FOR SPECIFIED VEHICLE.
Example: Programming new RKE remotes/FOBs for the Jeep Cherokee XJ
Just for sharing purpose. Credit to http://colorado4wheel.com.
This is a “how-to” reprogram the RKE (Remote Keyless Entry) remotes/FOBs in the Jeep Cherokee XJ. This procedure is the same for 1997-2001 Cherokees, 1997/1998 Cherokees use a different remote than the 99-01 Cherokee that seems to interchange with all 97-01 Cherokee’s. 1996 and older Cherokees have a different programming procedure for the IR remotes. In theory it would be possible to swap in a programmed pair of remote and board to a 1996 and older for the improved remote range.
From the main menu, select #1, DRBIII standalone.
Select #1, 1998-2007 Diagnostics.
Select #1, All.
Select #7, Theft Alarm.
Select #1, VTSS.
Detecting.
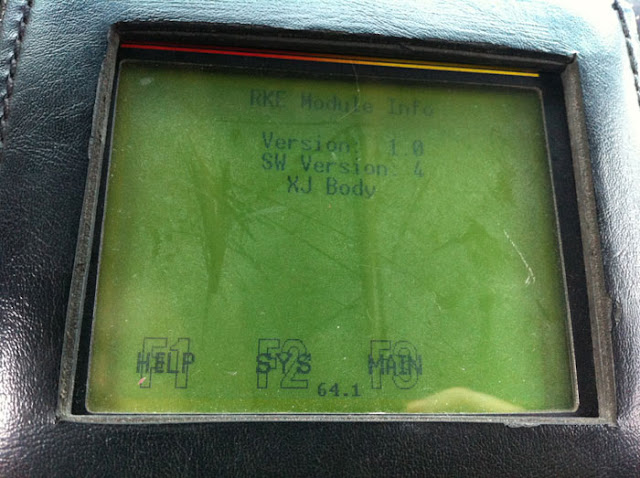
This will display after first detection.
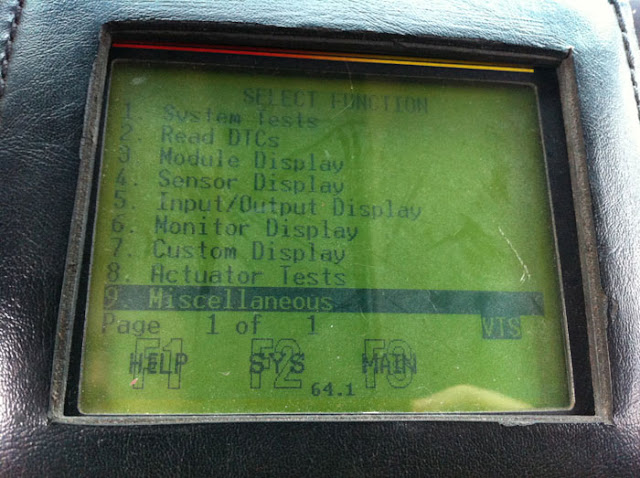
Select #9, Miscellaneous.
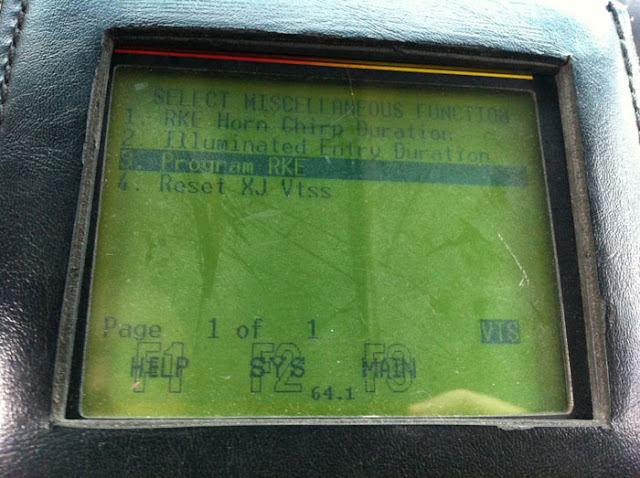
Select #3, Program RKE.
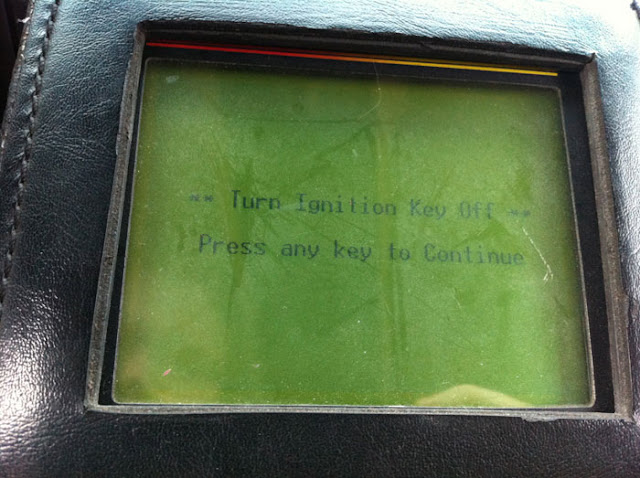
If the ignition is not off, turn it off.
Select which position remote you want to program for. Defaults are 1 and 2, Recommend having all the remotes available for programming, otherwise another remote might get overwritten.
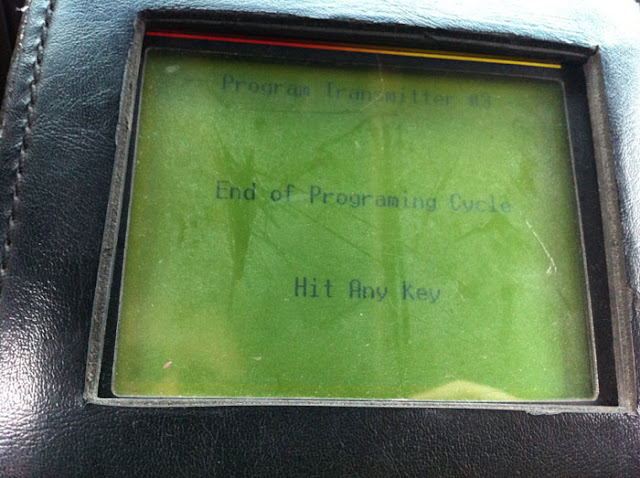
The RKE will accept a signal for a few seconds, press unlock repeatedly during this time. After the end of the cycle this will display, even if the programming was not successful. Test the remote by pressing lock and unlock, if it does not activate then it is not working properly and either needs to be programmed again or it is a bad remote.
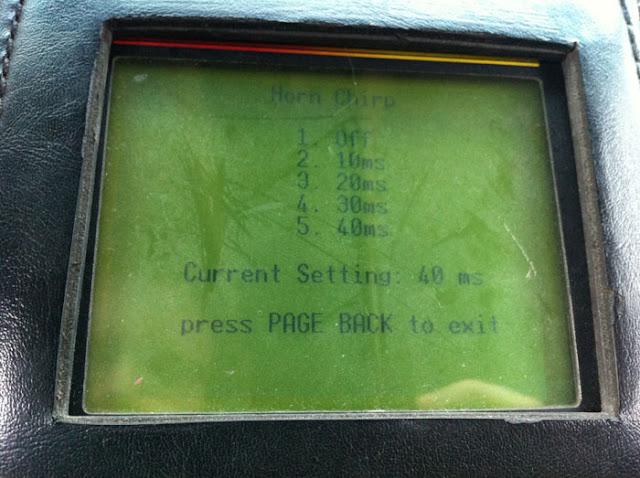
Select 1 to change the horn chirp duration.
10ms is almost inaudible, 40ms is very noticeable. User preference.
Illuminated entry can also be set. User preference.
While many remotes appear to be physically identical actual compatibility varies. Verify part numbers before purchasing remotes.


