2021/02/20

2005 Chrysler SRT6 ABS Bleeding by DBR3

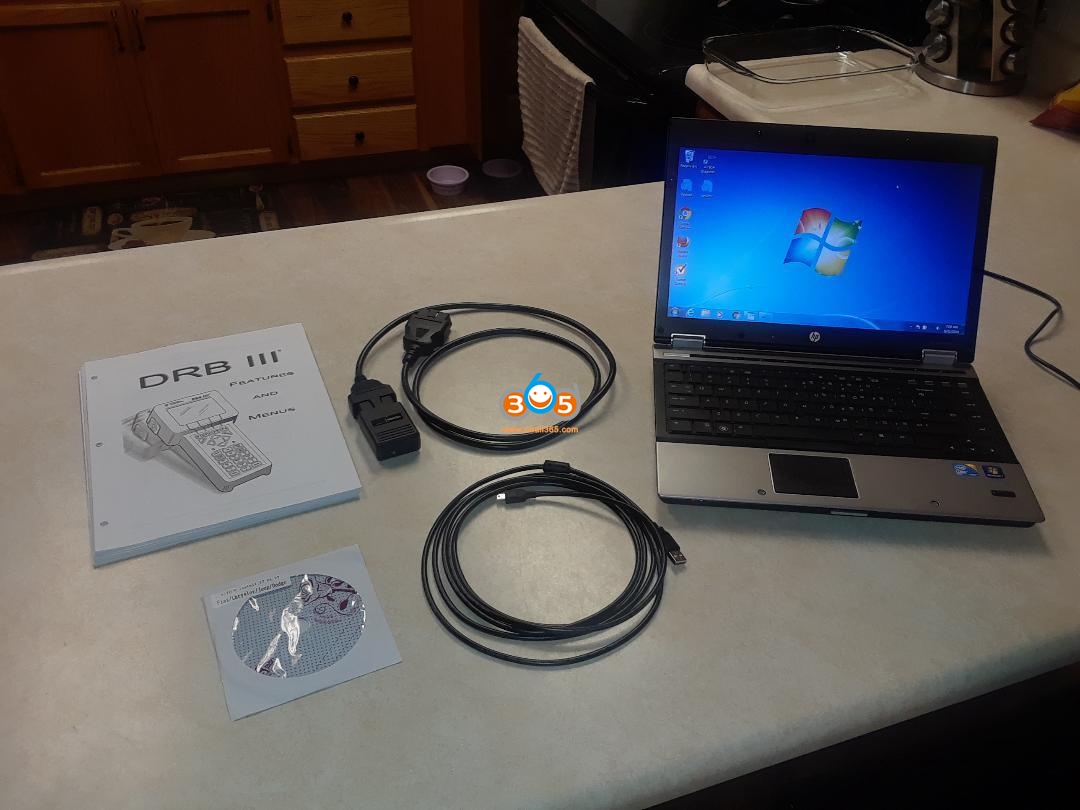
My Micropod 2 and DRB III Emulator Software works fine to Perform selected ABS functions on my 2005 SRT6. obdii365.com is where a few of us have bought one and it worked.

micropod2-drb3-chrysler-srt6-abs-bleeding-1

Source: https://www.obdii365.com/wholesale/witech-micropod-2-diagnosis-programming-for-chrysler.html

Price: $129


Installation:

OS: XP, WIN7 32bit (someone tested Windows 7 Professional (64 bit) works just fine).

I followed this instruction to install DRBIII Emulator for Micropod 2 on Windows 7 Pro 32bit and it worked perfectly:


https://www.obdii365.com/service/install-witech-micropod-ii-v17.04.27-on-windows-7.html


Using the DRB III Enhanced Emulator for Crossfire ABS System

I put together these images showing the DRB III emulator capabilities for the ABS system. There are seven additional systems listed on the menu, but I haven’t had a chance to go through and document the emulator capabilities for them all.


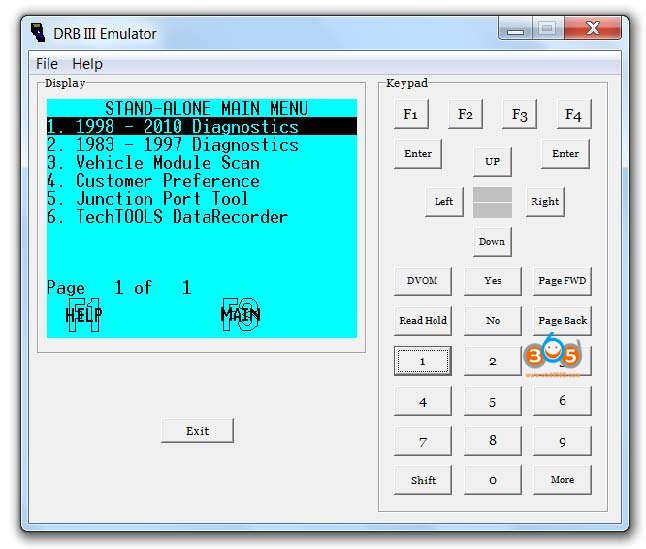
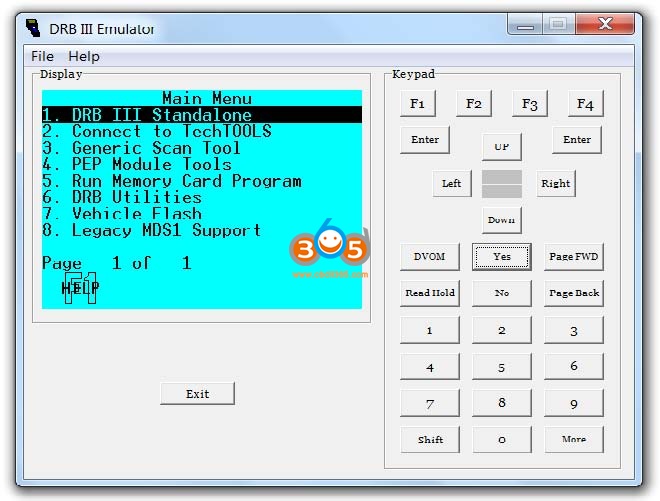
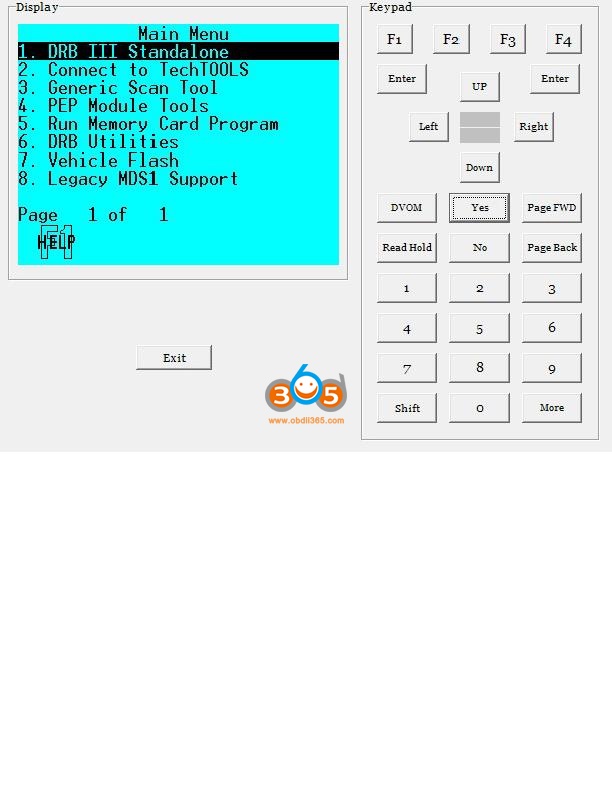
Starting the Emulator

micropod2-drb3-chrysler-srt6-abs-bleeding-2


Choose Standalone Mode.
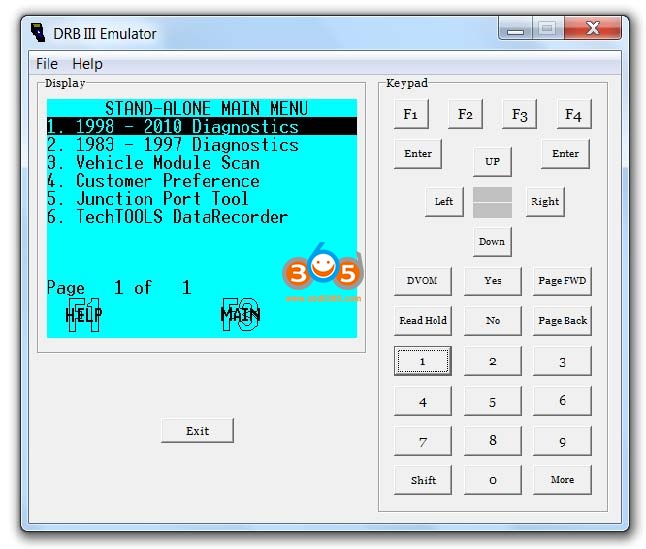
micropod2-drb3-chrysler-srt6-abs-bleeding-3


Choose 1998-2010

micropod2-drb3-chrysler-srt6-abs-bleeding-4


Choose 2004-2008 Crossfire

micropod2-drb3-chrysler-srt6-abs-bleeding-5


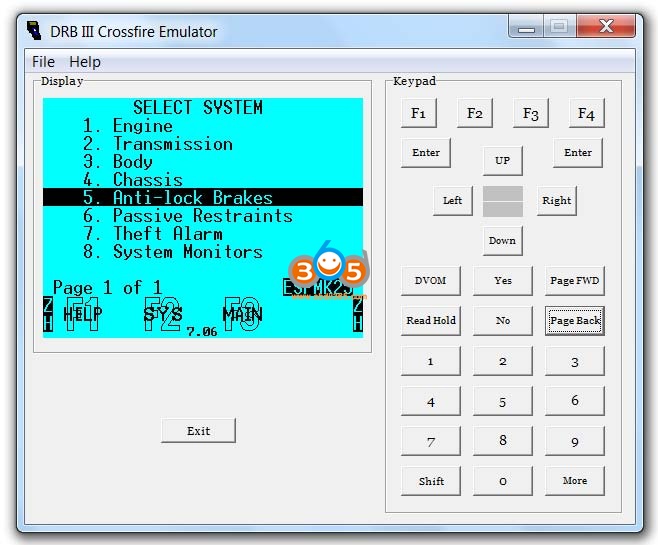
Choose Anti-lock Brakes

micropod2-drb3-chrysler-srt6-abs-bleeding-6

This Module is Displayed – Press ENTER
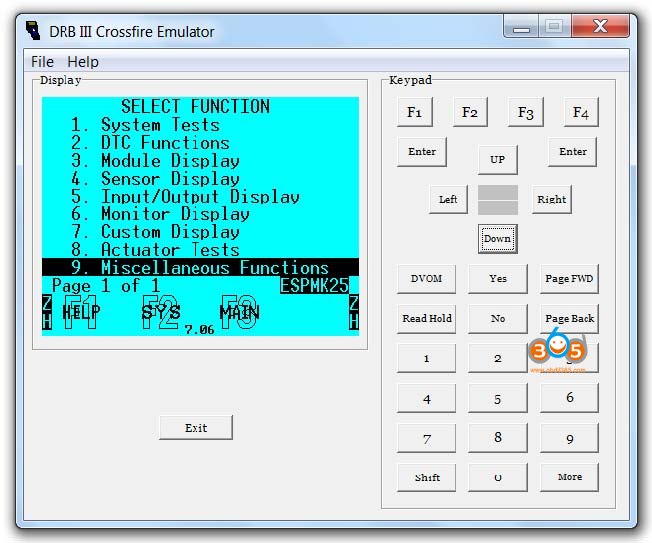
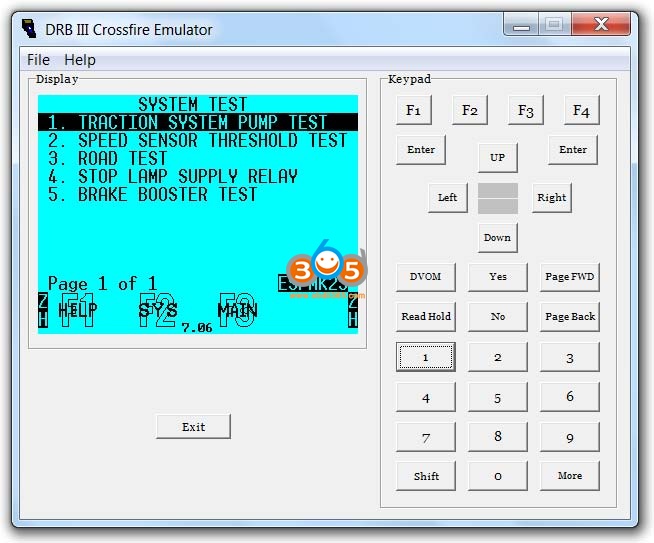
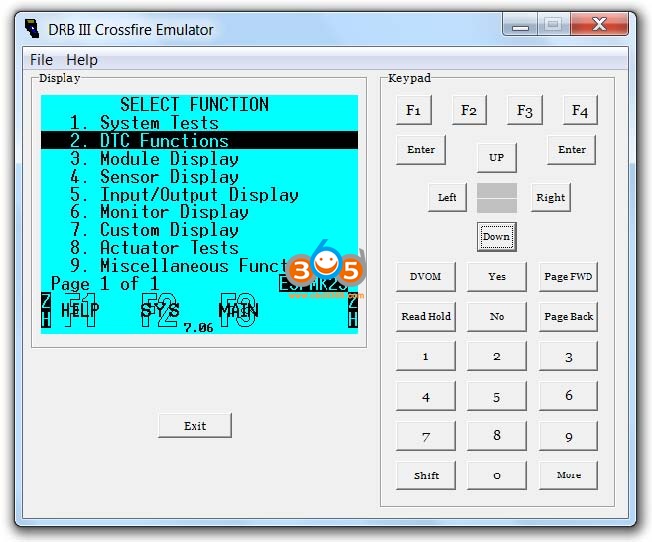
micropod2-drb3-chrysler-srt6-abs-bleeding-7


Select System Tests

micropod2-drb3-chrysler-srt6-abs-bleeding-8


Available options under System Tests

micropod2-drb3-chrysler-srt6-abs-bleeding-9


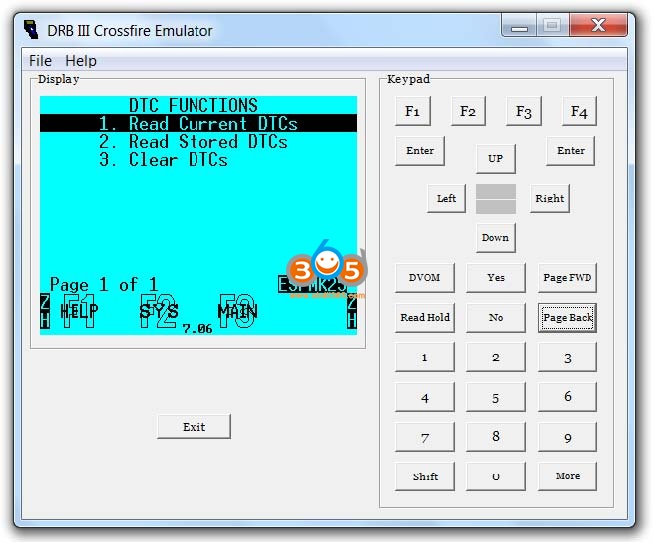
Select DTC Functions

micropod2-drb3-chrysler-srt6-abs-bleeding-10


Available options under DTC Systems

micropod2-drb3-chrysler-srt6-abs-bleeding-11


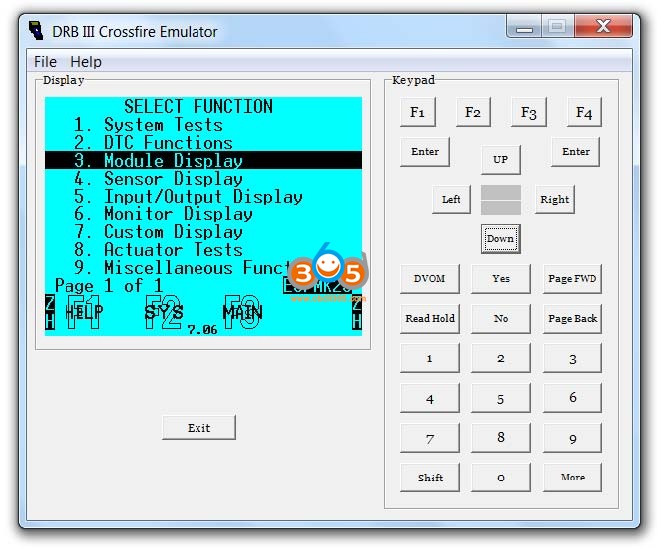
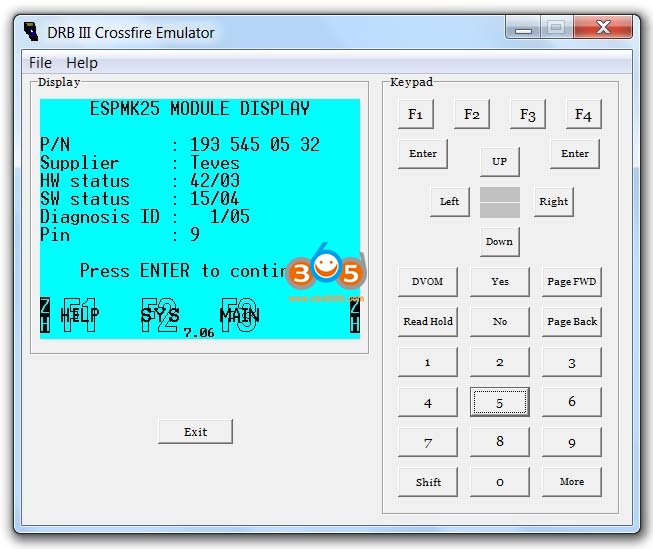
Choose Module Display

micropod2-drb3-chrysler-srt6-abs-bleeding-12

This Module is Displayed

micropod2-drb3-chrysler-srt6-abs-bleeding-13


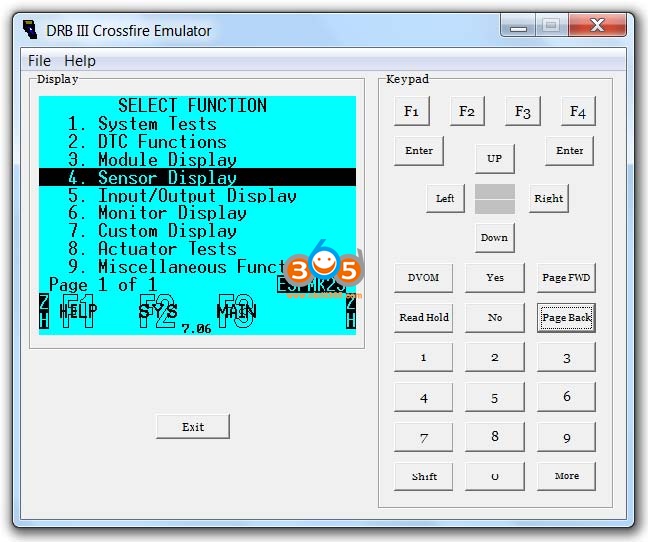
Select Sensor Display

micropod2-drb3-chrysler-srt6-abs-bleeding-14


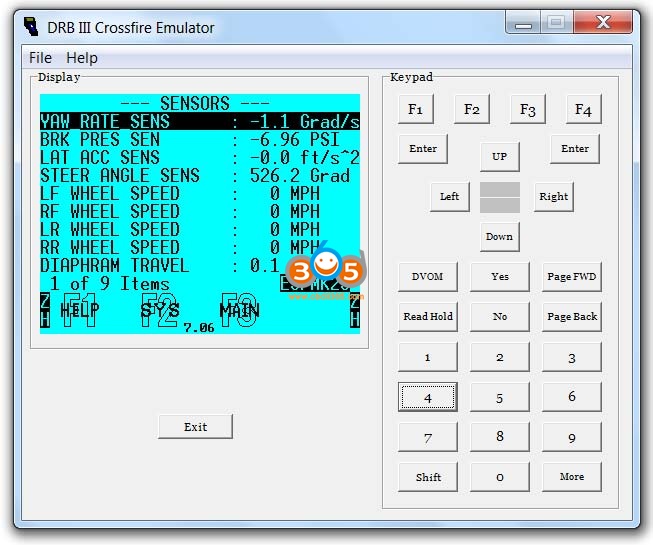
Available options under Sensor Display

micropod2-drb3-chrysler-srt6-abs-bleeding-15


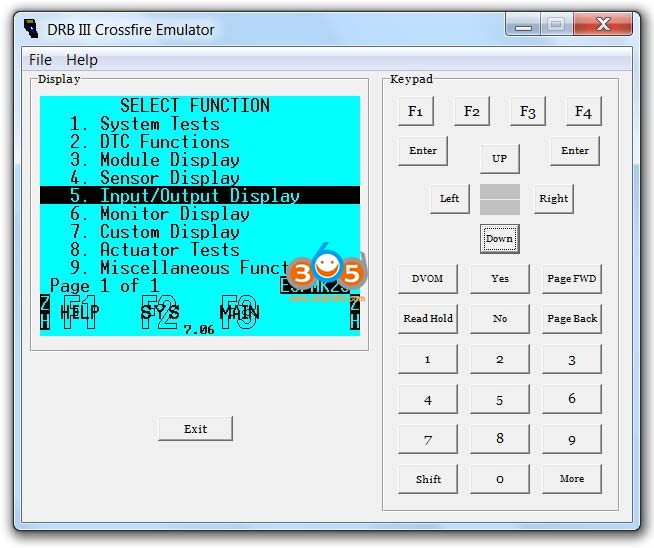
Select Input/Output Display

micropod2-drb3-chrysler-srt6-abs-bleeding-16


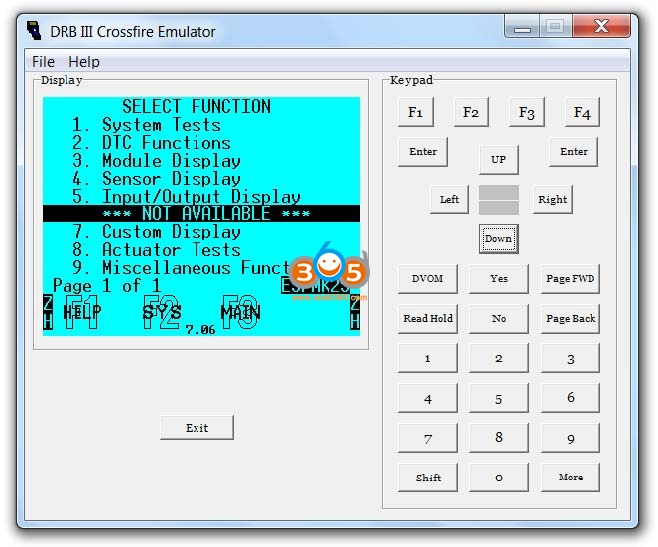
Available options under Input/Output Display

micropod2-drb3-chrysler-srt6-abs-bleeding-17


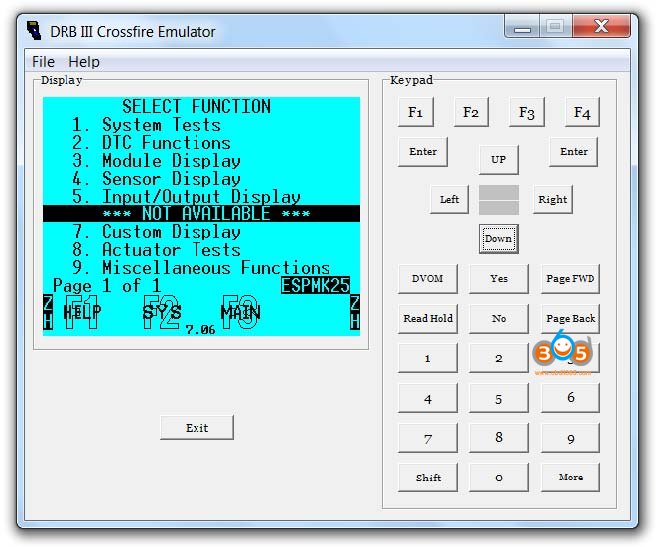
Monitor display is not available

micropod2-drb3-chrysler-srt6-abs-bleeding-18


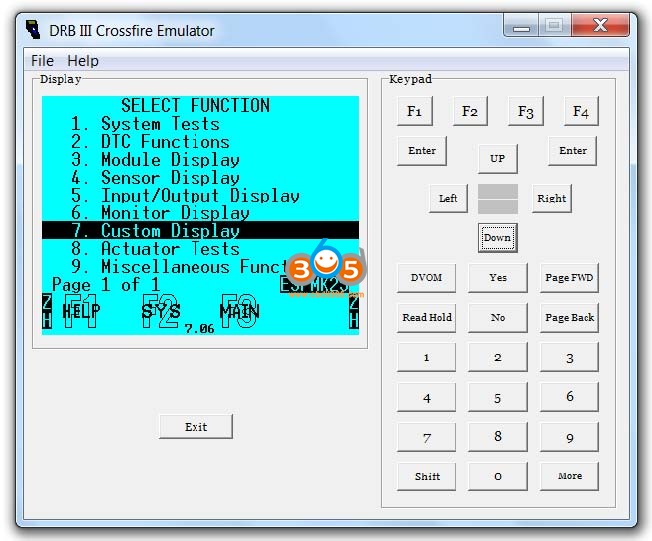
Select Custom Display

micropod2-drb3-chrysler-srt6-abs-bleeding-19


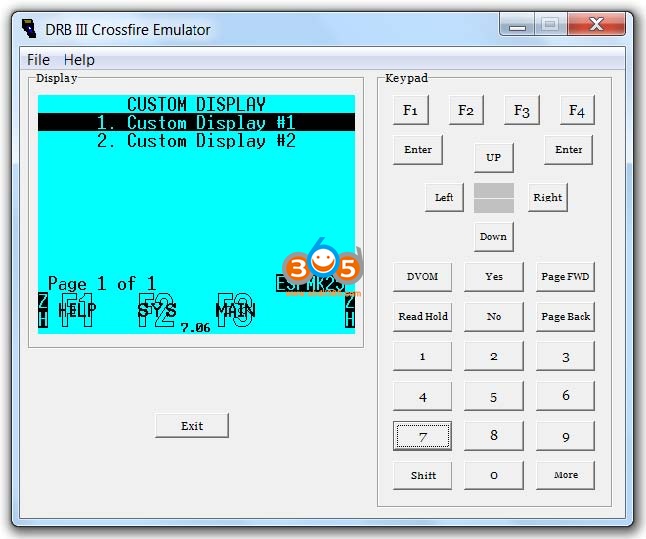
Available options under Custom Display

micropod2-drb3-chrysler-srt6-abs-bleeding-20


Actuator Tests is not available

micropod2-drb3-chrysler-srt6-abs-bleeding-21


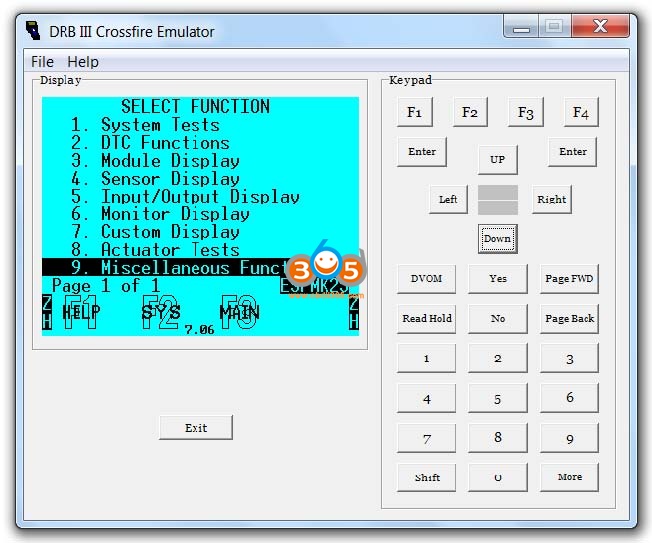
Select Miscellaneous Functions

micropod2-drb3-chrysler-srt6-abs-bleeding-22


Available options under Miscellaneous Functions

micropod2-drb3-chrysler-srt6-abs-bleeding-23


Enjoy!


https://www.obdii365.com/service/2005-chrysler-srt6-abs-bleeding-by-micropod2-and-drb3.html


2021/02/19

2007 Chrysler Crossfire TPMS Relearn by DRB III

Performing a Train (Relearn) sequence on the 2007 Chrysler Crossfire using the DRB 3 Enhanced Emulator and wiTech Micropod 2.


Firstly, have everything you will need:

1) Good computer knowledge

2) A laptop with a clean Windows XP or Windows 7 installation on it. Nothing else. Networking and Updating turned off.

3) A Micropod 2 Clone

4) Follow these instructions (How to install DRBIII Emulator for Micropod 2 on WIN7)

5) A TPMS tool to “chirp” the sensors so the vehicle can read them (I use the Autel TS601)

6) Perform a TPMS Relearn sequence using DRB III Emulator. Chirp each wheel when requested by the emulator. (Takes about 5 minutes).


If the laptop has audio, you will hear a beep after each wheel’s ID is accepted by the TPMS system. Four beeps and you are done. On screen instructions will guide you through the process. The individual wheel sensor ID’s will be read by the emulator and automatically programmed into the TPMS.


What process to follow?

I have run the sequence to perform a TPMS relearn using the DRB lll Enhanced Emulator and Micropod ll. The following 10 images show the sequence I followed along with a snapshot of each displayed screen from the Laptop.

micropod2-witech-crossfire-07-tpms-relearn-1

micropod2-witech-crossfire-07-tpms-relearn-2

micropod2-witech-crossfire-07-tpms-relearn-3

micropod2-witech-crossfire-07-tpms-relearn-4

micropod2-witech-crossfire-07-tpms-relearn-5

micropod2-witech-crossfire-07-tpms-relearn-6

micropod2-witech-crossfire-07-tpms-relearn-7

micropod2-witech-crossfire-07-tpms-relearn-8

micropod2-witech-crossfire-07-tpms-relearn-9

micropod2-witech-crossfire-07-tpms-relearn-10


I stopped at this point, because I am not performing a relearn at this time. Please note: magnets are not required when performing activation of the wheel sensors using a TPMS tool.


Thanks to @ John&Terry. This really helps outline steps required to clear the TPMS warning light after correcting any issues with wheel sensors.


Best working wiTech Micropod 2:

https://www.obdii365.com/wholesale/witech-micropod-2-diagnosis-programming-for-chrysler.html

2021/02/01

How to Configure WiFi for wiTech MicroPOD2?

Let me get straight to the point. Here is the WiFi setting guide of the new released WiFi version wiTech MicroPod 2 V17.04.27 diagnostic scan tool for Chrysler Jeep Dodge and Fiat.


How to configure a Wireless Profile on a MicroPOD2?

Preparation:

On a PC with the wiTECH V17 software application installed

Iwifi version share the same installation procedure as non-wifi version micropod2.

Check: http://blog.obdii365.com/2017/07/25/install-witech-micropod-2-v17-04-27-on-windows-7/


Then plug MicroPod II interface into the OBD2 port of your vehicle. The indicator will turn green, it means it car is charging the device.

Meanwhile use the USB cable to connect one laptop (Dell, Lenovo etc) with installed V17.04.27 wiTech software

witech-micrpod-2-wifi-setting-1

Connect wireless WIFI on the computer.

witech-micrpod-2-wifi-setting-2

Enter IP “172.22.22.22” into the address bar of an Internet browser.

witech-micrpod-2-wifi-setting-3

This opens the Witech setting interface

Select “Wireless Settings” in the menu on the left

witech-micrpod-2-wifi-setting-4


Profile is set to “Default”.

witech-micrpod-2-wifi-setting-5


Click on “Save”.

witech-micrpod-2-wifi-setting-6


Wireless Settings saved. To enable this wireless profile, click on “Manage Networks”.

You can close this page and return to configuring the device by clicking on the close button below.

witech-micrpod-2-wifi-setting-7

Next operation is to click on “Manage Networks” -> Wireless (tick it off) -> Select & Start.

Once the connection is complete you will see an IP address populate for the wireless interface

Success, close it.

witech-micrpod-2-wifi-setting-8

witech-micrpod-2-wifi-setting-9

Back to click on “Manage Networks”,  now we can see “Currently Selected”, and 172.22.22.22 is enabled, which means the wireless connection is set successfully.

witech-micrpod-2-wifi-setting-10


Video reference:

 https://youtu.be/cfpQFpkwVV8


V17.04.27 wiTech MicroPod2 Wifi setting is done successfully.


https://www.obdii365.com/service/set-up-wifi-connection-on-micropod-2.html